

Audio is our thing; but that’s not all that we do. Whether it’s a lecture recording you’ve made or a webinar video you’ve downloaded, media files can be easily imported into your notes in just minutes, if not seconds.
To help you get more out of every note, here’s a comprehensive guide to working with media files on Noted.
Import Media Files on an iPad or iPhone
We support most media formats with no specific limitations. However, you need to start by saving the media file locally to your device or a supported file provider in the ‘Files’ app, then follow the steps below:
- Open the note that you want to import the media file into.
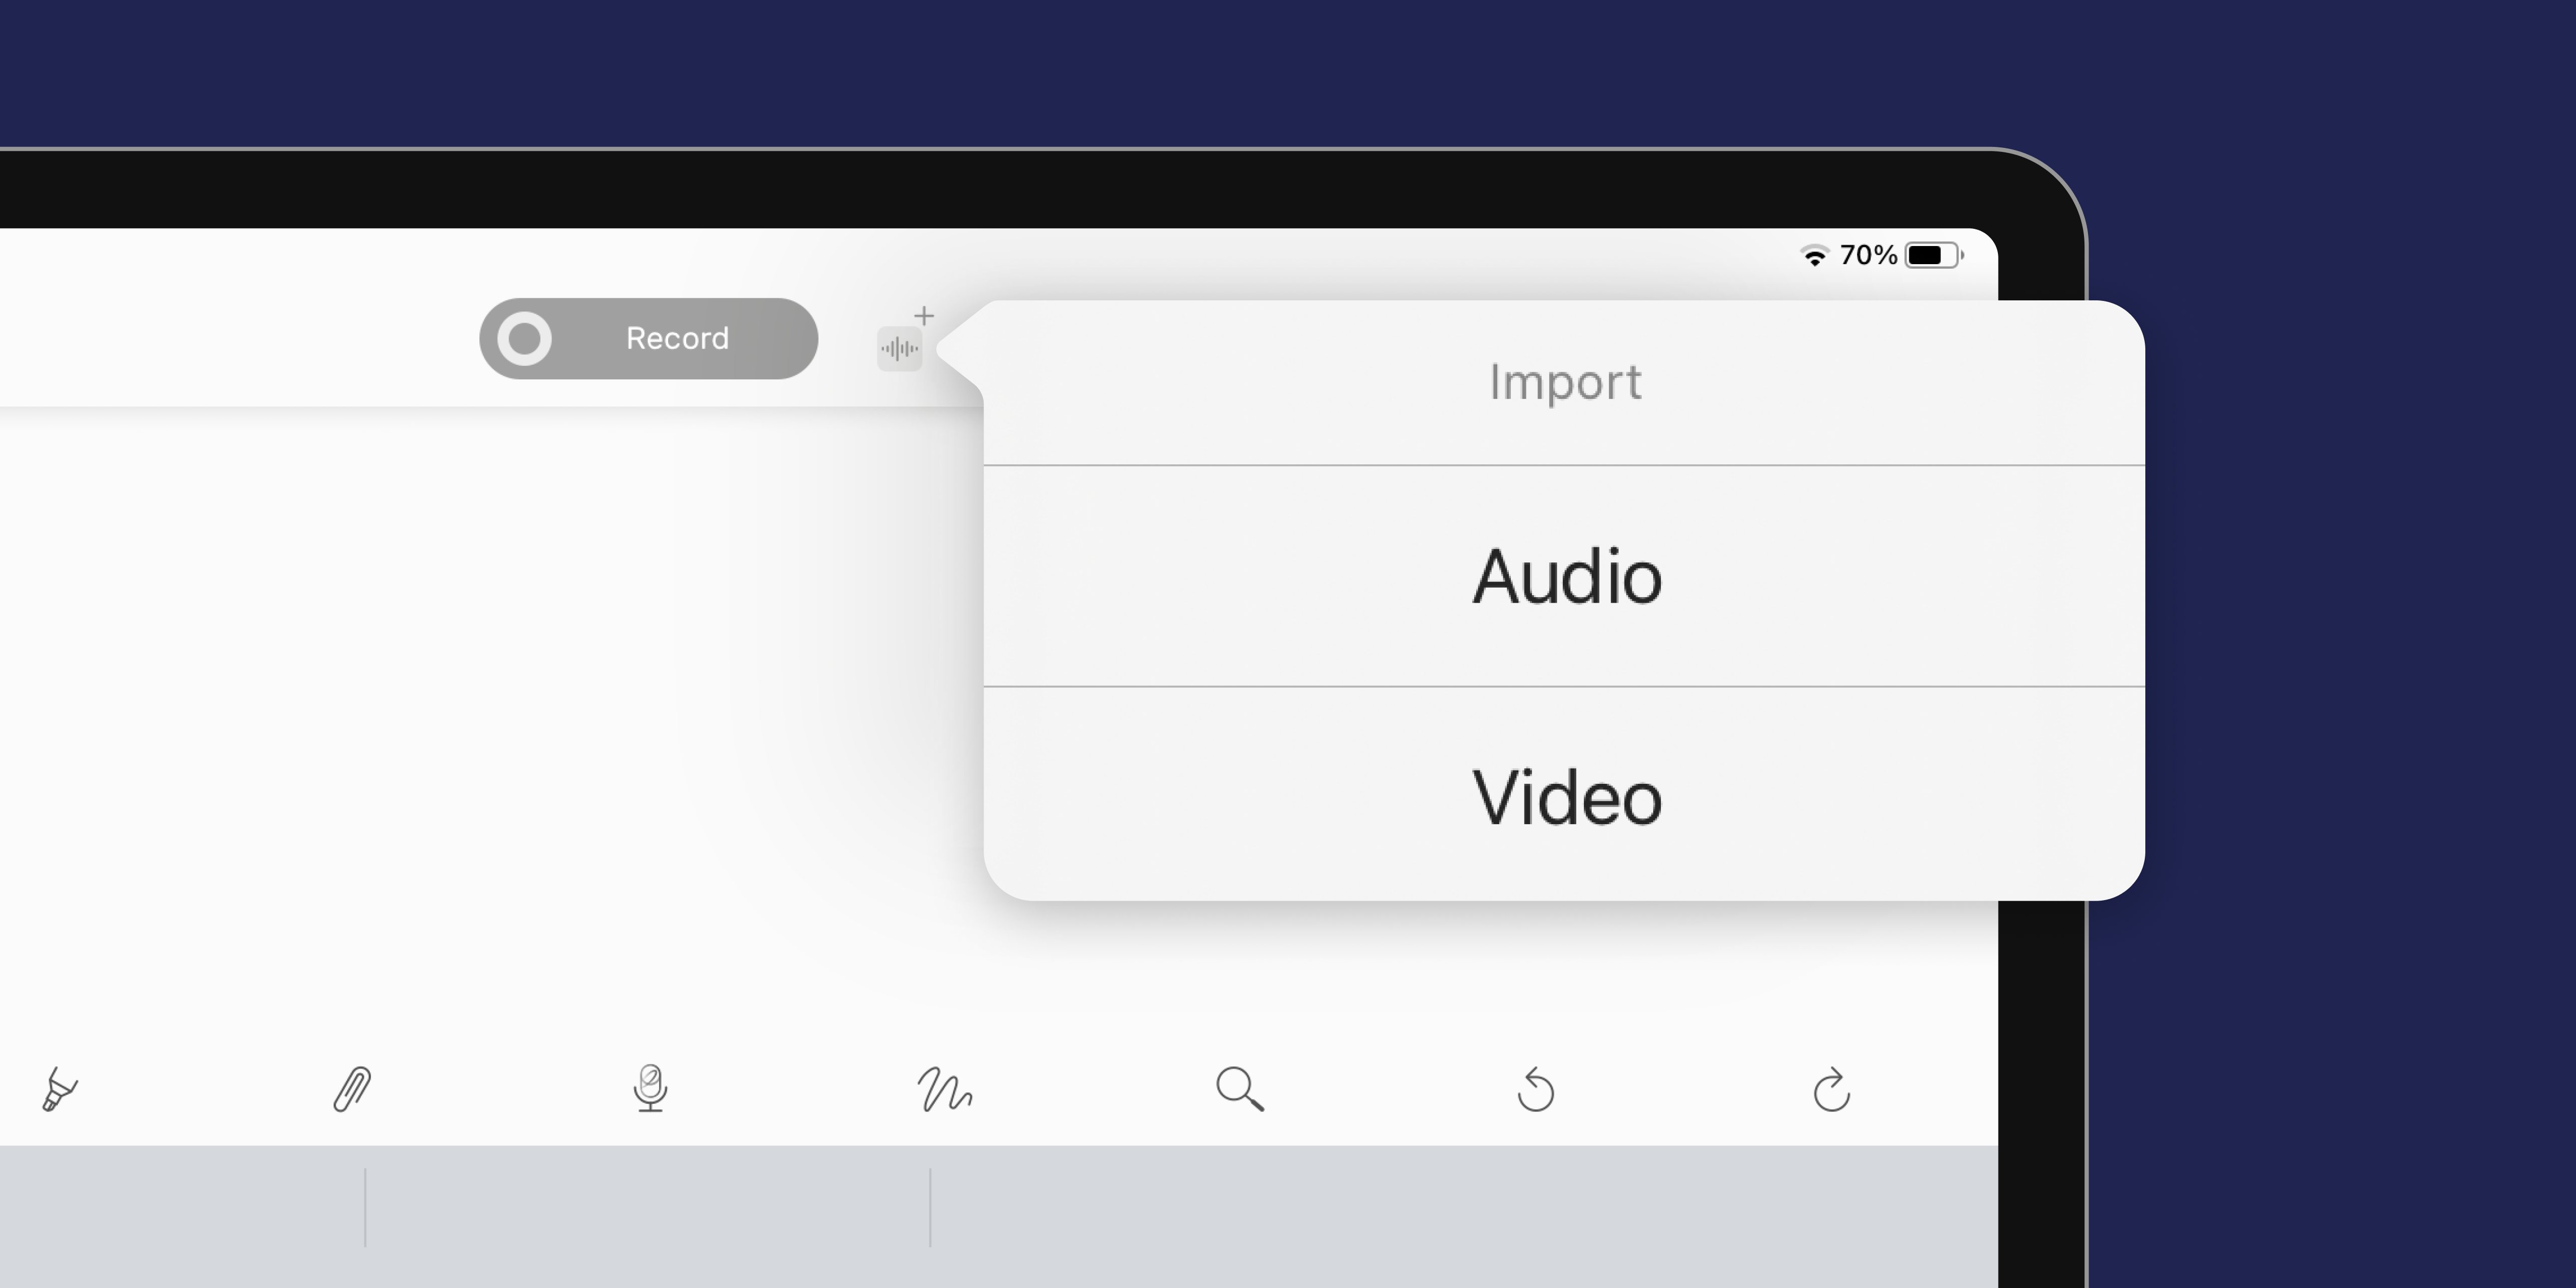
- Tap the Import Media icon next to the Record button.
- Browse to import the media file to the note.
Alternatively on iPad, you can open Noted and Files at the same time in split view, then drag and drop the media file(s) onto the Record button.
Import Media Files on a Mac
The easiest way to import a media file into a note on Mac is to simply drag and drop it into the note. Other than that, here’s an alternative method:
- Open the note that you want to import the media file into.
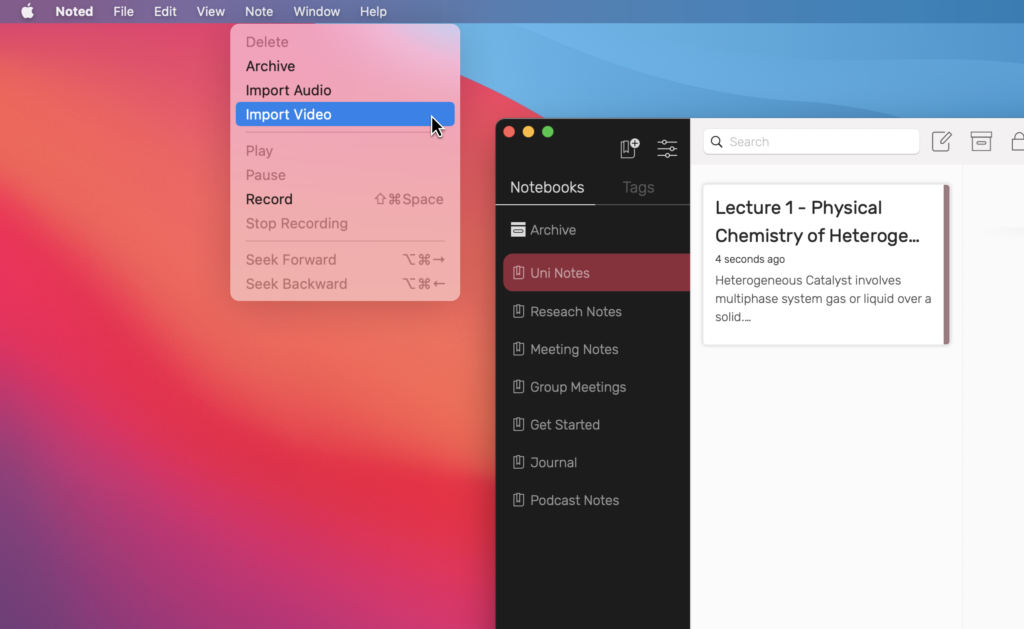
- Click on Note in the top menu bar.
- Select either Import Audio or Import Video in the drop-down menu.
When working with a video, once imported, you can resize it using the arrows at the bottom left of the video as well as drag it to reposition. In addition, you can capture a screenshot by pressing Shift + Command + 4, followed by the spacebar on the video window or drag the cursor to outline the area you want to capture, then drag and drop it into the note.
Import Multiple Recordings
Have multiple audio notes from the same class or project? Import them into the same note, so you don’t end up with way too many individual notes. Here’s how:
- Open a note that you wish to import a second (or third, or fourth…) recording.
- Switch to Record mode by tapping the circle icon on the top of the editor.
- Import another audio recording as you normally would.
A note for Mac users: You may skip step 2, and drag and drop to import only works for the first recording in a note.
Append Apple Watch Recordings to a Note
Apple Watch users, rejoice! Noted is also available on Apple Watch. It’s the perfect tool to capture inspiration and record ideas on the go – and it’s really easy to get started.
All your Watch recordings can be appended to notes on the paired iPhone as soon as they’re fully transferred with the following steps:
- Navigate to the Watch Recordings folder on your iPhone.
- Tap on a recording you wish to append and select ‘Append to note’. You can also access this button by tapping and holding the desired recording until you see the action menu.
- Select the notebook and note (or create a new notebook and note) you wish to append the recording to, then tap the Append button.
Any #TimeTags you added during the recording will be transferred to the note. If there’s existing content in the note, you will find the hashtags below it.
Reminder: Make sure that the recording has transferred completely from your Apple Watch before appending it to a note. Three animated dots will appear to indicate that the transfer is still in progress.
Do More with Your Media Files
Have a question about importing media files? Reach out to our support team via support@notedapp.io or Twitter, we’re always happy to help!
