




Your lecturer told you what’s on the exam. You just need to find the moment they said it.
Somewhere in week three, your lecturer paused and said, “This will definitely come up.” You heard it. You meant to write it down.
Now it’s revision week, you’ve got eight lectures recorded, and no idea which one it was in.
Recording your lectures is a good start. But a folder of hour-long recordings isn’t a revision plan. Here’s how to turn them into one.
In the lecture: tag the moments that matter
You don’t need to transcribe every word. Let the recording capture the lecture while you tag the moments worth revisiting.
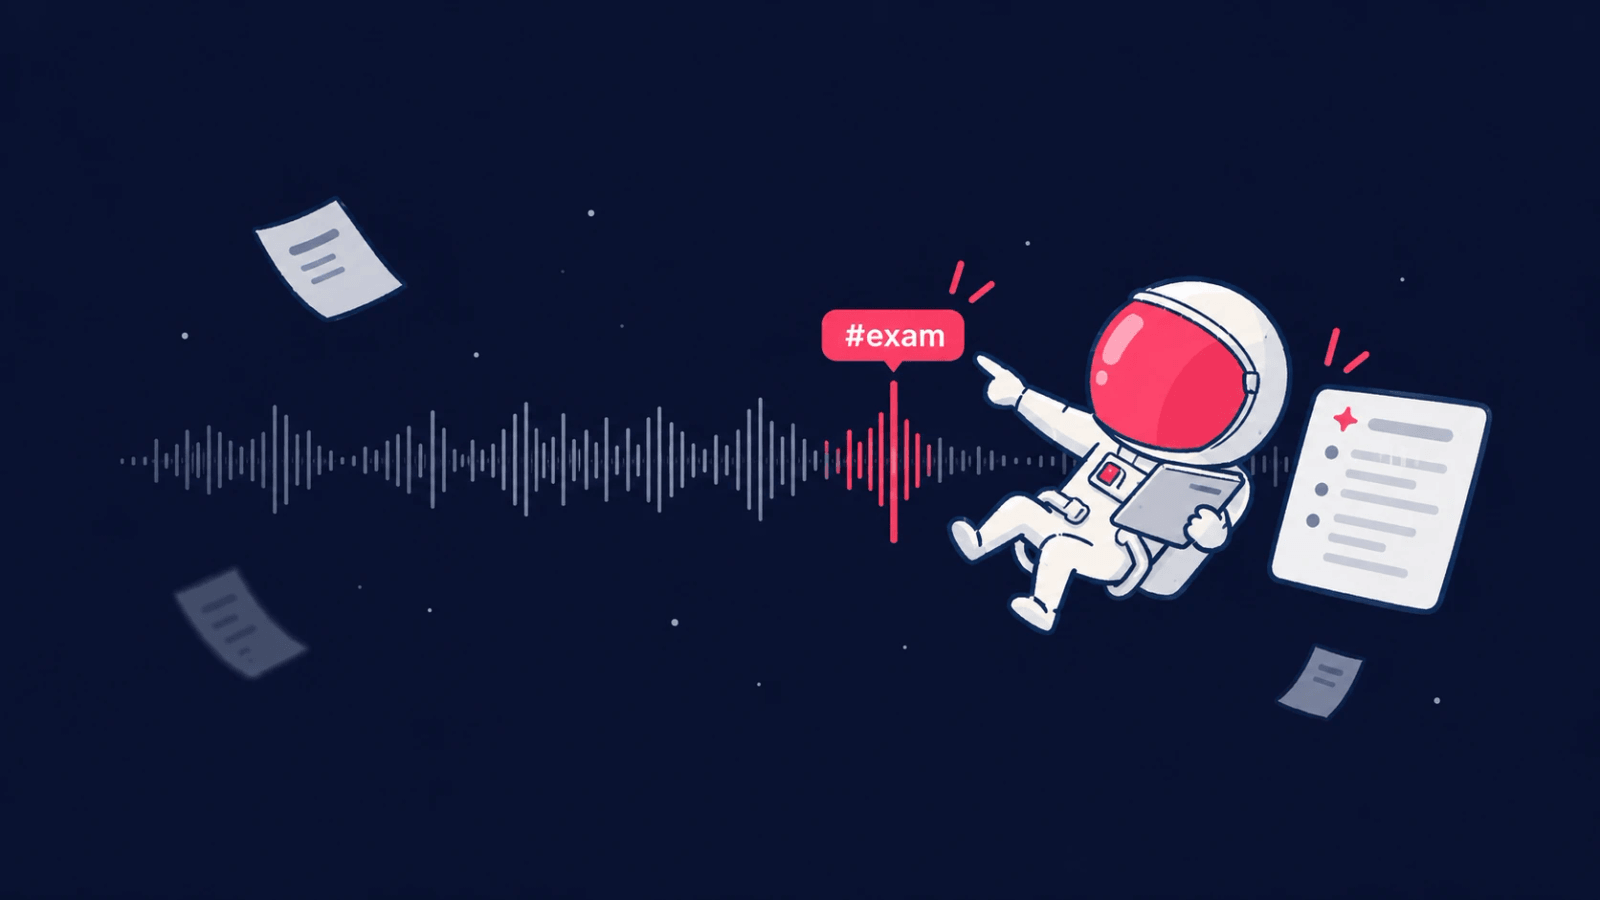
While Noted is recording, type # and a single word whenever something sounds important. Try a few:
- #exam when your lecturer hints at what’s coming up
- #term when an important term or concept is introduced
- #keypoint when your lecturer explains something particularly important
- #confused when you’ve lost the thread and need to hear it again
It takes a second, and you’re straight back to listening. Each tag is time-stamped to the recording as you type it.
Tip: A tag ends at the next space, so keep it to one word.
Anything else you type while recording is time-stamped too. A half-written note like “ask about part 2??” will take you straight back to the moment that prompted it.
Before revision: turn your transcript into a summary
After your lecture has been transcribed, tap ✨ and choose Summarize Note.
You’ll get an overview of the lecture, its key points and any follow-up tasks, such as finishing a reading or submitting a problem set.
Every point carries a timestamp. If a key point needs more explanation, tap the timestamp to hear that part of the lecture again.
The summary helps you review what the lecture covered, while the recording lets you revisit how your lecturer explained it.
While you revise: go straight to your tags
Start with your #exam tags to revisit the topics your lecturer highlighted. Listen to the surrounding audio so you understand the context, not just the key phrase.
Next, revisit your #confused tags to go over concepts you struggled with during the lecture.
Together, these tags give you a focused revision list, so you can spend less time searching through recordings and more time reviewing what matters.
Three things that make it easier
Turn on live transcription. When you start recording, Noted asks, “Transcribe live as you record?” Tap Start and you’ll get a transcript of the lecture as it happens. It needs iOS 26 or later, and Noted needs to stay open while it transcribes.
Identify speakers in seminars. If you record tutorials or group discussions, turn on Settings > Transcribe > Identify speakers before you start recording. You can rename each speaker afterwards so the transcript shows real names.
Keep one notebook per module. When every lecture for a module lives together, revising a topic means opening one notebook, not searching through everything.
How to get started
1. Record your next lecture in Noted.
2. Type # and a word, like #exam, whenever something sounds important.
3. After the lecture has been transcribed, tap ✨ and choose Summarize Note. During revision, tap a timestamp or tag to revisit that moment.
For more on tags, see How do I use #TimeTag in Noted? and How do I summarise a meeting or lecture in Noted?
Get Noted on the App Store & Mac App Store
Be present in the lecture. Revise from the moments that mattered.